A beautiful manicure is not the result of luck. It comes from proper preparation, gentle reinforcement, and consistent aftercare. Whether you do your own nails at home or visit a salon, the same principles apply: protect the natural nail, create a clean foundation, and choose techniques that support long wear without causing damage. Here is a professional guide to strengthening your nails, preparing them correctly, and extending the life of your manicure safely.
How to Strengthen Nails and Prepare Them Properly?
Strengthening nails does not mean applying the hardest product available. It means supporting the natural nail while avoiding habits that weaken it. The first step is to assess your nails honestly. Are they thin, peeling, ridged, or brittle? Are they naturally oily or dry? This determines what kind of preparation and reinforcement they need.
For weak or peeling nails, a builder gel or strengthening base coat can add support. Apply it in a thin layer and cure it if it is a gel product. Avoid thick layers, which can lift and put stress on the nail plate. A keratin-based strengthener can also help, but it should be used according to the instructions. Do not overuse hardeners containing formaldehyde, as they can make nails brittle over time.
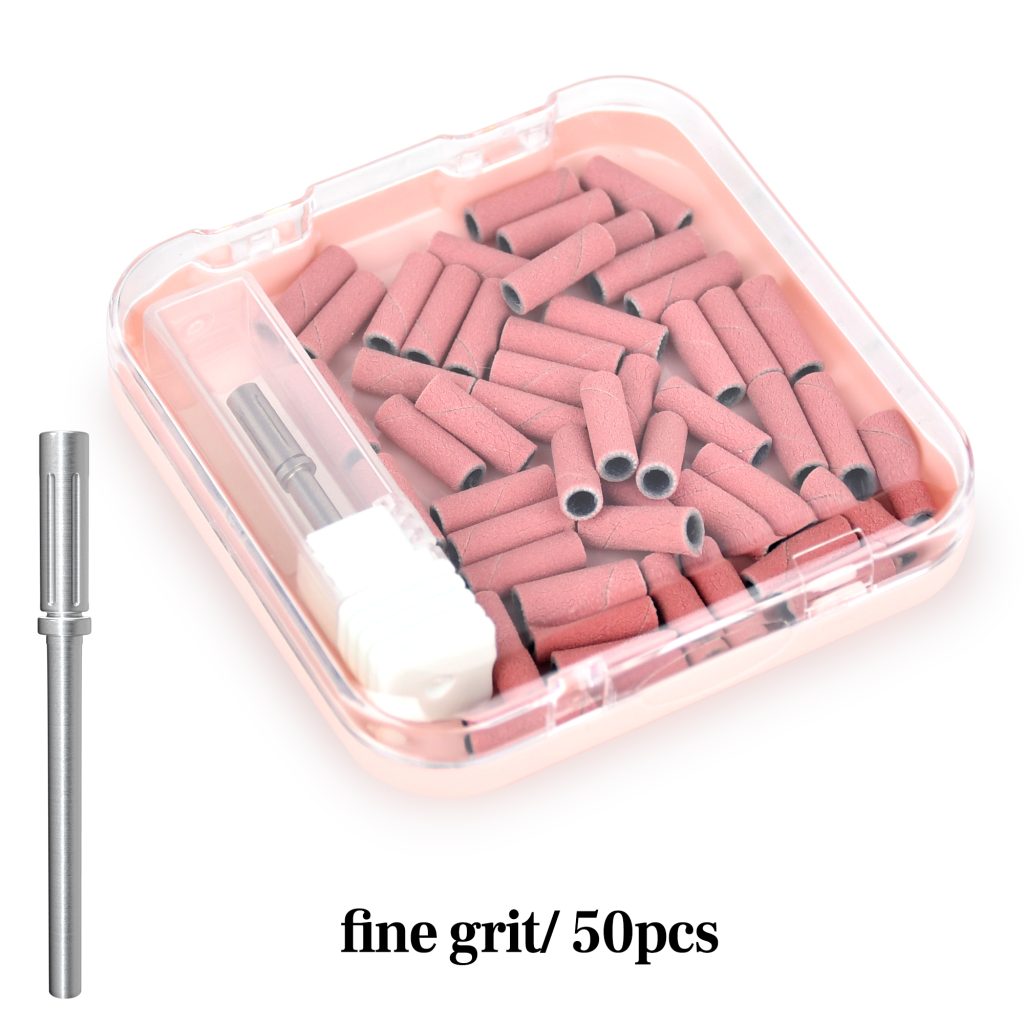
Before any polish or enhancement, preparation is essential. Start by removing old polish gently. Shape the nails with a fine-grit nail file, 180 to 240 grit, and file in one direction only. Sawing back and forth creates micro-tears that lead to peeling. Push back the cuticles gently after softening them with warm water or a cuticle softener. Never cut living cuticle—it is a protective seal. Lightly buff the nail surface to remove shine, but do not over-buff. Two or three light passes are enough. Remove all dust with a brush, then wipe each nail with a dehydrator or 91% isopropyl alcohol. Do not touch the nails after this step. Finger oils transfer instantly and prevent adhesion.
Key Steps for a Long-Lasting and Safe Manicure
A durable manicure depends on thin layers, full curing, and careful sealing.
Always use a base coat. It creates adhesion, prevents staining, and provides a smooth surface. For gel, use a gel base coat and cure it fully. Apply colour in thin layers. Two or three thin coats are better than one thick coat. Thick layers cure unevenly, bubble, and peel. Keep the product off the skin. Gel or polish that touches the cuticle or sidewalls creates a weak point where lifting begins. Clean up any mistakes before curing or drying.
Cap the free edge. Run the brush along the tip of the nail with every layer—base, colour, and top coat. This seals the most vulnerable part of the manicure and prevents water from seeping underneath. Cure gel fully according to the manufacturer’s instructions. Under-cured gel feels soft underneath and peels within days. Use a lamp compatible with your gel brand, and replace bulbs or the lamp when curing becomes slow or uneven.
Finish with a high-quality top coat. It seals the colour, adds shine, and provides scratch resistance. For regular polish, reapply a thin layer every two to three days. For gel, a gel top coat cured under the lamp provides the most durable finish.
If you use enhancements such as acrylics or hard gels, ensure they are applied with a properly balanced apex. A nail that is too thin at the stress point will crack; one that is too thick will feel heavy and may lift.
How to Extend Wear Without Damaging Your Nails?
Longevity is not just about the product. It is about how you treat your hands after the manicure.
Keep your hands dry. Water is the enemy of every manicure. Wear gloves for dishwashing, cleaning, and gardening. Dry your hands thoroughly after washing, especially around the edges of the nails. Apply cuticle oil daily. Hydrated nails are flexible and less likely to chip or lift. Jojoba oil is ideal because it penetrates the nail plate and mimics the skin’s natural oils.
Avoid using your nails as tools. Opening cans, peeling stickers, and scraping labels puts lateral pressure on the nail plate and causes chips and breaks. Keep a small tool nearby instead.
Do not pick or peel lifted product. If you see a lifted edge, file it smooth and seal it with a thin layer of top coat, or have it repaired. Peeling strips layers off the natural nail and causes long-term damage.
Schedule regular maintenance. Gel and acrylic enhancements need fills every two to three weeks. Regular maintenance keeps the structure balanced and prevents lifting. For regular polish, remove and reapply before it chips badly.
Give your nails breaks between enhancements. A few days of bare, oiled nails every month allows the nail plate to rehydrate and helps you spot any changes in nail health. If your nails feel thin or sensitive, take a longer break.
Choose the right removal method. Never peel off gel or acrylic. For gel, file the top coat, soak cotton in pure acetone, wrap with foil, wait 10 to 15 minutes, and gently push off the softened product. For acrylic, have it filed off or soaked according to the product type. After removal, apply cuticle oil generously.
Final Thoughts
Professional nail care is not complicated, but it requires consistency and respect for the natural nail. Strengthen with gentle support, prepare with clean and careful technique, apply in thin layers, cure fully, and seal the edges. Then protect your manicure from water, trauma, and harsh chemicals. With these habits, your manicure will look beautiful and last longer—without compromising the health of your nails.
Read also: The Art of Short Nails: Why They’re Great and How to Master Them